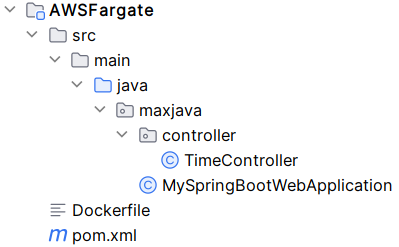
Create the following folder structure:
pom.xml: (if using Gradle, replace pom.xml with build.gradle)
<?xml version="1.0" encoding="UTF-8"?>
<project xmlns="http://maven.apache.org/POM/4.0.0"
         xmlns:xsi="http://www.w3.org/2001/XMLSchema-instance"
         xsi:schemaLocation="http://maven.apache.org/POM/4.0.0 http://maven.apache.org/xsd/maven-4.0.0.xsd">
    <modelVersion>4.0.0</modelVersion>
    <groupId>max.java</groupId>
    <artifactId>AWSFargate</artifactId>
    <version>1.0</version>
    <packaging>jar</packaging>
    <parent>
        <groupId>org.springframework.boot</groupId>
        <artifactId>spring-boot-starter-parent</artifactId>
        <version>3.2.5</version>
    </parent>
    <dependencies>
        <dependency>
            <groupId>org.springframework.boot</groupId>
            <artifactId>spring-boot-starter-web</artifactId>
        </dependency>
    </dependencies>
    <build>
        <plugins>
            <plugin>
                <groupId>org.springframework.boot</groupId>
                <artifactId>spring-boot-maven-plugin</artifactId>
            </plugin>
        </plugins>
    </build>
</project>
plugins {
    id 'java'
    id 'org.springframework.boot' version '3.2.5'
    id 'io.spring.dependency-management' version '1.1.4'
}

group 'net.maxjava'
version '1.0'

repositories {
    mavenCentral()
}

dependencies {
    implementation 'org.springframework.boot:spring-boot-starter-web'
}
Some notes about pom.xml:
- Use spring-boot-starter-parent as parent POM for Spring Boot application
- Spring Boot 3.2.5 requires Java 17
- Use spring-boot-maven-plugin to re-package all dependencies into a single, executable jar
- By running mvn clean package, a jar artifact which is ready to run by using java -jar will be created
Some notes about build.gradle:
- Use org.springframework.boot plugin for Spring Boot application, to make the jar executable and re-package all dependencies into a single jar
- Spring Boot 3.2.5 requires Java 17
- Use io.spring.dependency-management plugin for dependency management
- By running gradle clean build, a jar artifact which is ready to run by using java -jar will be created
MySpringBootWebApplication.java:
package maxjava;

import org.springframework.boot.SpringApplication;
import org.springframework.boot.autoconfigure.SpringBootApplication;

@SpringBootApplication
public class MySpringBootWebApplication {
    public static void main(String[] args) {
        SpringApplication.run(MySpringBootWebApplication.class, args);
    }
}
Some notes about MySpringBootWebApplication.java:
- Mark a class with @SpringBootApplication and pass the class in SpringApplication.run will be good enough to run a Spring Boot application with web server (default setting)
- We could just put SpringApplication.run inside the static main function and annotate the same class for simplicity
TimeController.java:
package maxjava.controller;

import org.springframework.web.bind.annotation.GetMapping;
import org.springframework.web.bind.annotation.RequestMapping;
import org.springframework.web.bind.annotation.RestController;

import java.util.Date;

@RestController
@RequestMapping("/time")
public class TimeController {

    @GetMapping("/current")
    public String currentTime() {

        return new Date().toString();
    }
}
Some notes about TimeController.java:
- A demonstration controller to return the current time
Make sure Maven is installed and use the command mvn clean package to build the jar file
Make sure Gradle is installed and use the command gradle clean build to build the jar file
The next step is to create a docker image containing this jar file
Dockerfile:
FROM amazoncorretto:17
COPY target/AWSFargate-1.0.jar AWSFargate-1.0.jar
EXPOSE 8080
ENTRYPOINT ["java", "-jar", "AWSFargate-1.0.jar"]
FROM amazoncorretto:17
COPY build/libs/AWSFargate-1.0.jar AWSFargate-1.0.jar
EXPOSE 8080
ENTRYPOINT ["java", "-jar", "AWSFargate-1.0.jar"]
Some notes about Dockerfile:
- amazoncorretto:17 is used as base image, which contains amazon corretto version 17
- copy AWSFargate-1.0.jar to the image (default directory is ok)
- port 8080 needs to be exposed as this is the port for the Spring Boot web application which runs on Tomcat (default web server for Spring Boot)
- finally use the ENTRYPOINT command to run the jar
Make sure Docker is installed and run the following command in the project root directory (directory containing Dockerfile) to build the docker image:
docker build -t myimage .
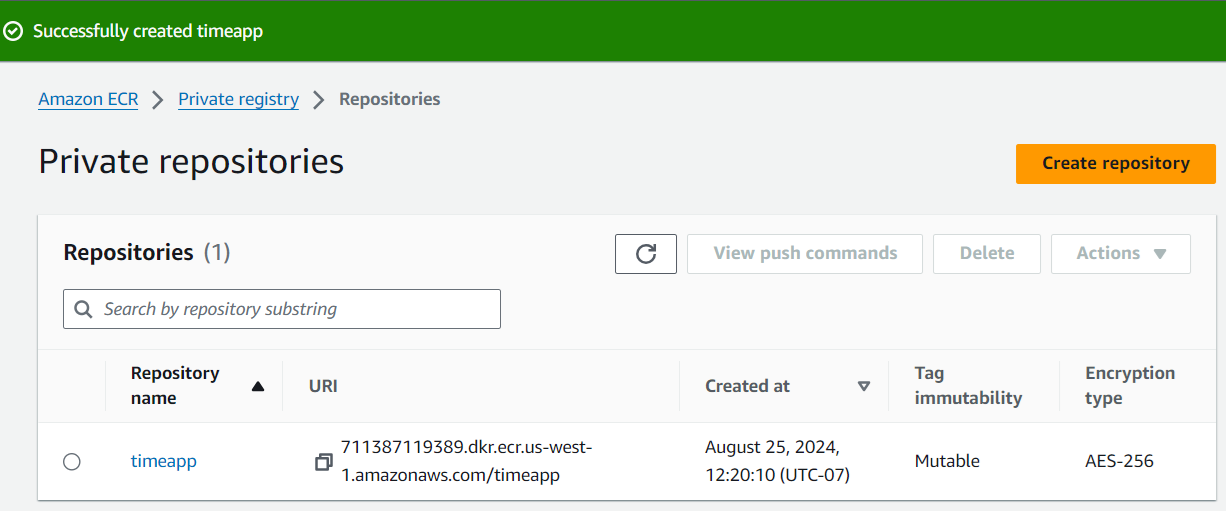
Now the docker image is built in local docker engine, for it to be used by AWS Fargate, it has to be put in the Amazon Elastic Container Registry (ECR)
Now we have to push the docker image to the ECR repository created
For the Docker Engine to be able to push the image to ECR, we need to run aws ecr get-login-password to authenticate
Before that first we need to create an user in AWS which has the right. Log in to AWS console and go to the IAM console.
Create an User and in the "Attach policies directly" option add the AmazonEC2ContainerRegistryFullAccess permission to that user. Then select the user and in the "Secure credentials" tab, create an access key with use case "Command Line Interface (CLI)"
Make sure AWS CLI is installed and then run aws configure to add the corresponding key, secret and region (of ECR repository)
Run the following command to authenticate docker to ECR:
aws ecr get-login-password --region [your region] | docker login --username AWS --password-stdin [URI of your timeapp repository]
For example:
aws ecr get-login-password --region us-west-1 | docker login --username AWS --password-stdin 711387119389.dkr.ecr.us-west-1.amazonaws.com/timeapp
Login Succeeded should be returned
Now create a tag in the ECR for the image, run the following docker command (replace with your timeapp repository URI):
docker tag myimage:latest 711387119389.dkr.ecr.us-west-1.amazonaws.com/timeapp:latest
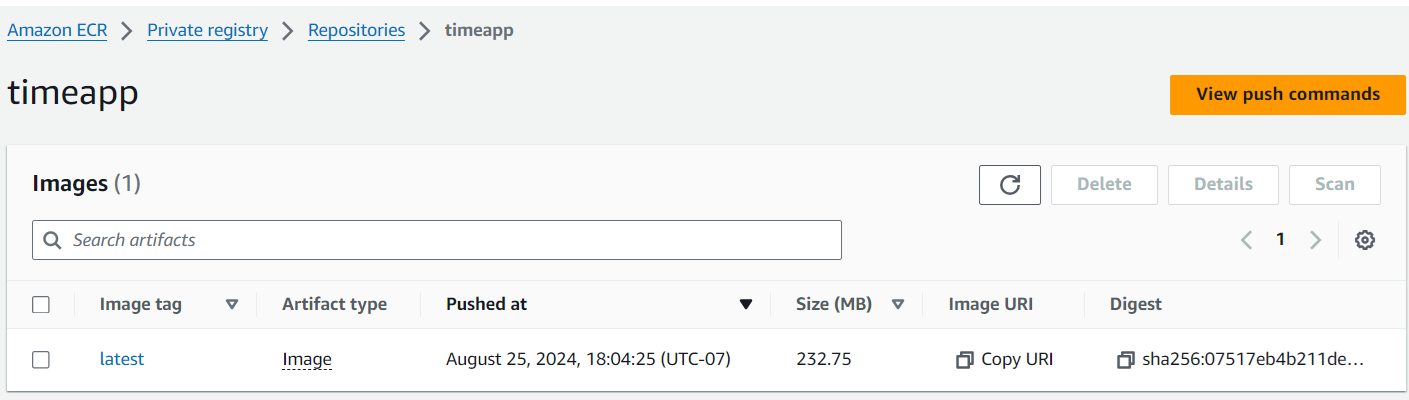
Push the tag to the ECR repository:
docker push 711387119389.dkr.ecr.us-west-1.amazonaws.com/timeapp
The next and final step is to create a task and a cluster to run the task
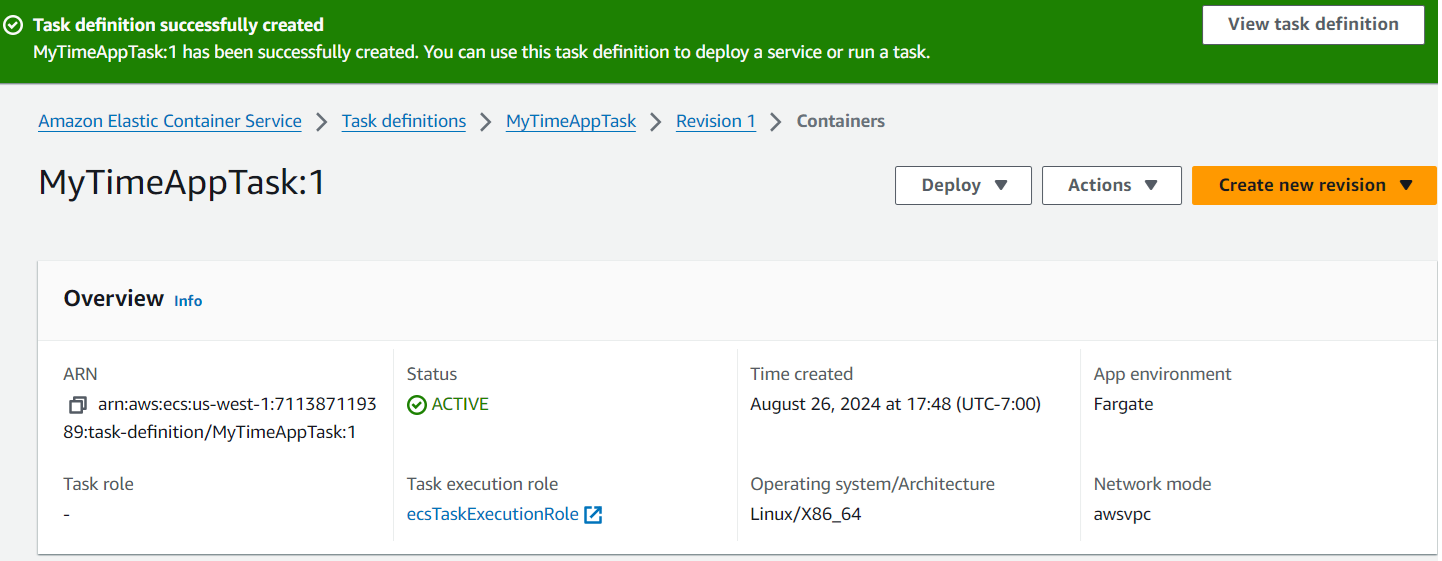
Log in to AWS console and go to "Elastic Container Service". Select "Task definitions" on the left panel and click "Create new Task definition".
Put a name on the "Task definition family" e.g. MyTimeAppTask and select "AWS Fargate" as launch type.
In the "Container - 1" section, enter the "Name" e.g. MyTimeAppContainer and put the ECR image URL e.g. 711387119389.dkr.ecr.us-west-1.amazonaws.com/timeapp:latest in "Image URI".
In the "Container port", put 8080. Keep all the other settings default and click "Create".
Next, again in "Elastic Container Service", select "Clusters" on the left panel and click "Create cluster".
Enter the "Cluster name" e.g. MyTimeAppCluster and select "AWS Fargate (serverless)" and click "Create". A cluster name MyTimeAppCluster should be created.
Select the cluster and in the "Services" tab, click "Create". In the next screen, select "Launch type" and "FARGATE". Select "Service" in the "Application type" and MyTimeAppTask in the "Family" under "Task definition".
Enter the "Service name" e.g. MyTimeAppService and keep other settings as default. Click "Create" and wait for the service to be created.
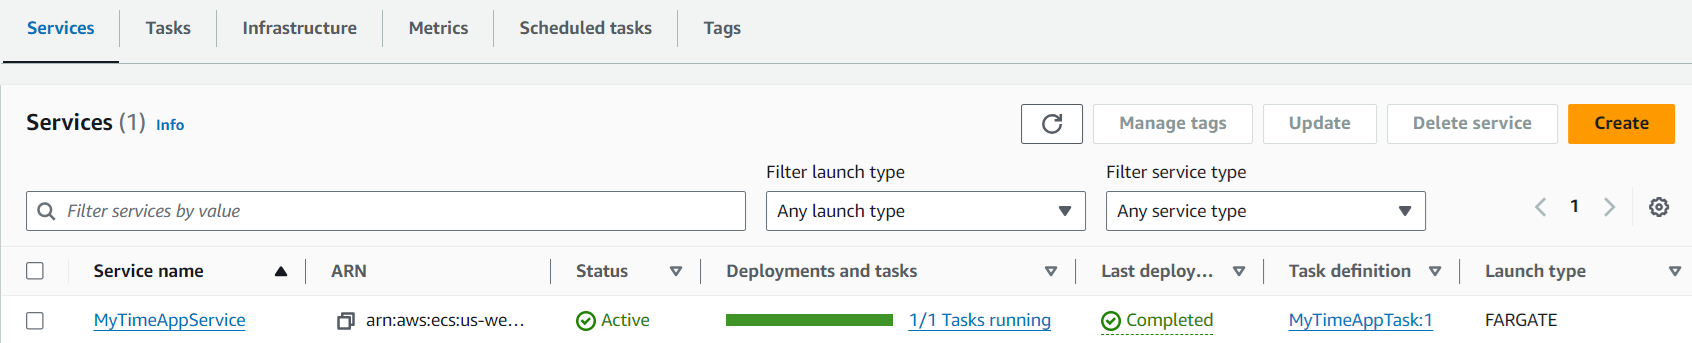
Now the AWS Fargate is deployed. You need to go to the "Networking" section of the Task to check for your public IP. Then call the following curl:
-
Sample response:curl --request GET '<public IP>:8080/time/current'Wed Aug 28 02:02:13 UTC 20244
If no response comes back because your request cannot reach your AWS Fargate server, it could be because port 8080 is not open in the security group of the service.
Open the service MyTimeAppService, In the "Configuration and networking" section, open the link under "Security groups". In the "Inbound rules", click "Edit inbound rules" and "Add rule" to add a rule with "Type" = "Custom TCP", "Port range" = "8080", "Source" = "Anywhere 0.0.0.0/0" and click "Save rules"